Cleaning Behind the Blinds: How to Safely Remove Window Blinds
If you have ever looked at your windows and thought they still look dusty even after cleaning, you might be wondering: How to Remove Window Blinds for Cleaning?
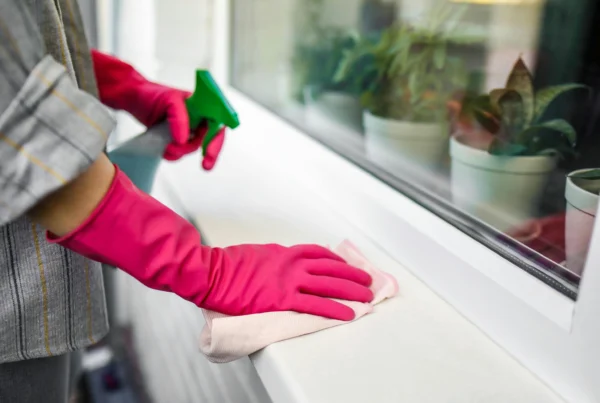
This is a very common question, especially during deep cleaning days or seasonal cleaning. Window blinds collect dust, grease, pet hair, and allergens faster than almost any other part of the home. Cleaning around them is not always enough. Sometimes, removing them is the best way to get a truly clean result.
The good news is that removing window blinds is easier than many people think. With the right steps and a little patience, you can safely take down your blinds, clean them properly, and put them back without damage. This guide walks you through everything you need to know in a clear and simple way.
Why You Should Remove Window Blinds Before Cleaning

Blinds sit directly in front of windows, which means they constantly collect dust from outside air and indoor movement. Over time, this buildup can affect air quality and make rooms look dull even when the rest of the space is clean.
Removing blinds allows you to clean areas that are usually missed, including the window glass, window tracks, and the wall area behind the blinds. It also makes it easier to deep clean the blinds themselves, especially if they have sticky residue from cooking, smoke, or pets.
If your blinds look gray instead of their original color, feel gritty to the touch, or trigger sneezing when disturbed, it is a good sign they need more than a quick wipe.
Tools You Need Before Removing Window Blinds
Before you start, gather a few basic tools. Having everything ready makes the process faster and safer.
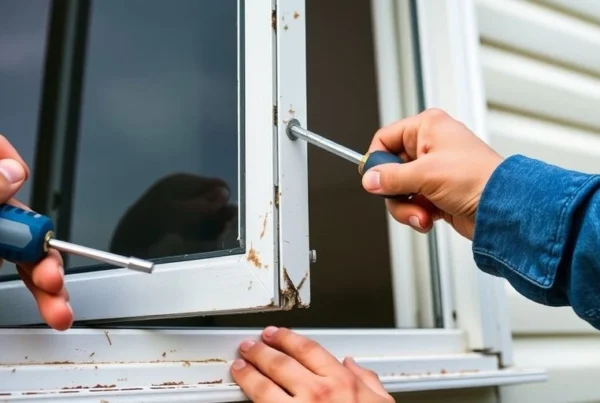
You may need a step stool or sa mall ladder if the blinds are mounted high. A screwdriver is useful for blinds that are screwed into brackets. Keep a small container nearby so you do not lose screws or clips. A soft towel or cloth is helpful to place the blinds on once removed. Gloves can also help improve grip and protect your hands.
Most blinds do not require special tools, but taking a few minutes to prepare prevents frustration later.
Types of Window Blinds and How They Are Mounted
Not all blinds are the same, and knowing what type you have helps you remove them safely.
Horizontal Blinds
Horizontal blinds are the most common type found in homes. They are often made from wood, faux wood, or aluminum. These blinds usually sit inside metal or plastic brackets at the top of the window frame.
The brackets typically have a small hinged door or tab that holds the blind in place.
Vertical Blinds
Vertical blinds are often used on large windows or sliding doors. They consist of individual vertical slats attached to a headrail. The slats can usually be removed one by one before taking down the headrail if needed.
Roller and Roman Shades
Roller shades and Roman shades work differently from standard blinds. They usually have a mounting system that snaps or locks into brackets. These types may require extra care because the fabric can crease or stretch if handled roughly.
How to Remove Window Blinds for Cleaning Step by Step
Step 1: Fully Lower and Open the Blinds
Start by lowering the blinds completely so they hang straight. For horizontal blinds, tilt the slats open so they lie flat. This reduces tension and makes removal easier.
For vertical blinds, make sure all slats are fully turned open and hanging evenly.
Step 2: Locate the Mounting Brackets
Look at the top of the blinds where they attach to the wall or window frame. Some blinds are mounted inside the window frame, while others are mounted outside above the window.
Most brackets have a small cover or latch. This cover usually flips up or slides to release the blind.
Step 3: Release the Blinds From the Brackets
Using your fingers or a flathead screwdriver, gently open the bracket covers. Hold the blind with one hand while releasing it so it does not fall.
Once the covers are open, the blind should slide or lift out of the brackets easily.
Step 4: Remove the Blinds Carefully
Carefully lower the blind and place it on a flat surface, such as a table or the floor covered with a towel. Avoid bending the headrail or twisting the slats.
If the blinds feel heavy or awkward, ask someone to help you. Working slowly prevents damage.
How to Remove Vertical Blinds Safely
Vertical blinds require a slightly different approach. Start by removing each slat individually. Most slats unclip by rotating them and gently lifting them off the hook.
Once all slats are removed, you can decide whether the headrail needs to come down. In many cases, cleaning the slats alone is enough. If the headrail is dusty, it can usually be released from its brackets in a similar way to horizontal blinds.
Keep all clips and hooks together so nothing is lost.
How to Clean Blinds After Removal
 Light Cleaning
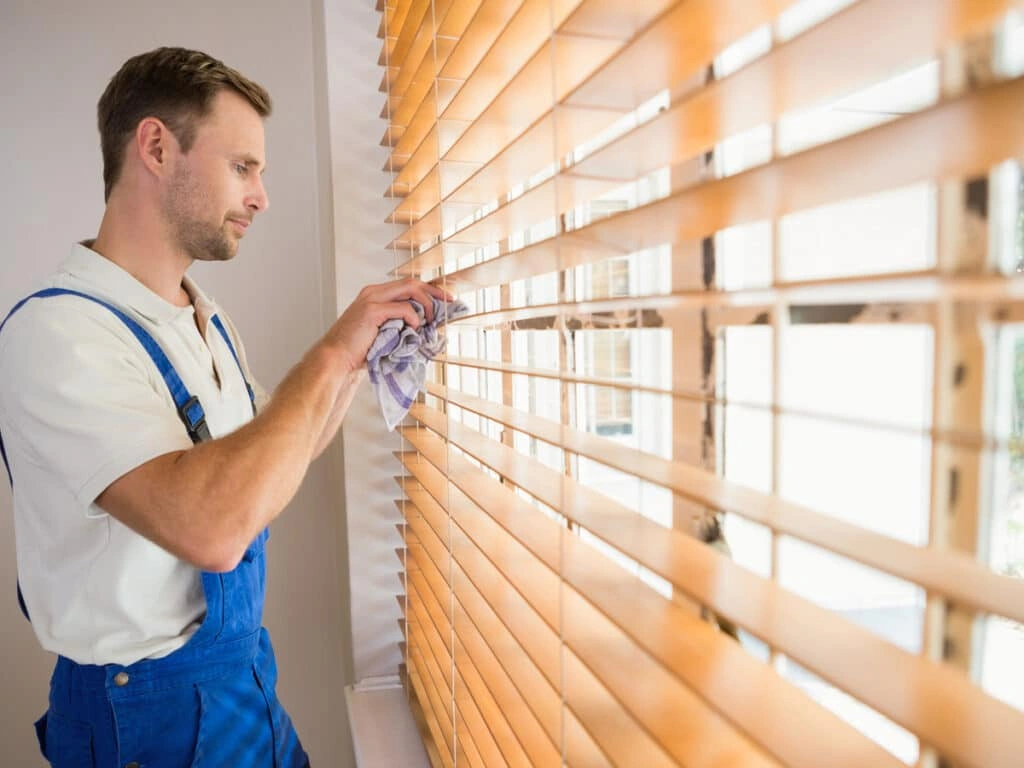
For blinds that are only lightly dusty, wiping them with a damp microfiber cloth may be enough. Work gently and wipe each slat from end to end.
Deep Cleaning
For deeper cleaning, some blinds can be washed in a bathtub with warm water and mild soap. Lay them flat and gently wipe each slat. Rinse thoroughly and let them dry completely.
Always check the material first. Wood blinds should not be soaked, while faux wood and aluminum blinds are more water-resistant.
How to Reinstall Window Blinds After Cleaning
Once the blinds are fully dry, lift them back into position. Slide the headrail into the brackets and close the bracket covers securely.
Test the lift and tilt controls to make sure everything works smoothly. If something feels stiff, double-check that the blinds are seated correctly.
Reinstalling is usually faster than removal once you know how the brackets work.
Common Mistakes to Avoid When Removing Window Blinds
One common mistake is pulling the blinds out without opening the brackets, which can bend the headrail. Another mistake is losing screws or clips by not storing them in one place.
Never reinstall blinds while they are still damp. Moisture can cause warping, mold, or damage over time.
When to Call Professional Cleaning Services
If you have many windows, large blinds, or delicate materials, professional cleaning services can save time and prevent damage. Professionals also have tools and techniques to clean blinds thoroughly without removal in some cases.
This is especially helpful for high windows or homes with limited mobility.
Final Thoughts
Removing window blinds for cleaning is one of the best ways to refresh your home and improve indoor air quality. While it may seem intimidating at first, the process is simple when broken down into clear steps. With a little preparation and care, you can safely remove, clean, and reinstall your blinds without stress.
Clean blinds not only look better but also make your entire space feel brighter and healthier.
If you want clean windows and blinds without the hassle, ProClean’s Cleaning Services Langley is here to help. Our experienced team handles window and blind cleaning safely and thoroughly, saving you time and effort. Contact us now or get a quote now, and let us take care of the hard work so your home looks its best again.
Follow us on our socials here:
Find out more articles that can help you below:
- How Much Does It Cost Windows Cleaning in Vancouver
- How to Clean Tinted Windows
- How to Clean Water Spots on Windows
- How to Clean Mould From Windows
- How to Clean Window Screens Without Removing Them
- What Is the Best Window Cleaning Solution
- How to Clean Water Stained Windows
- How to Clean a Window Air Conditioner Mold
- How to Clean the Inside of a Double Pane Window